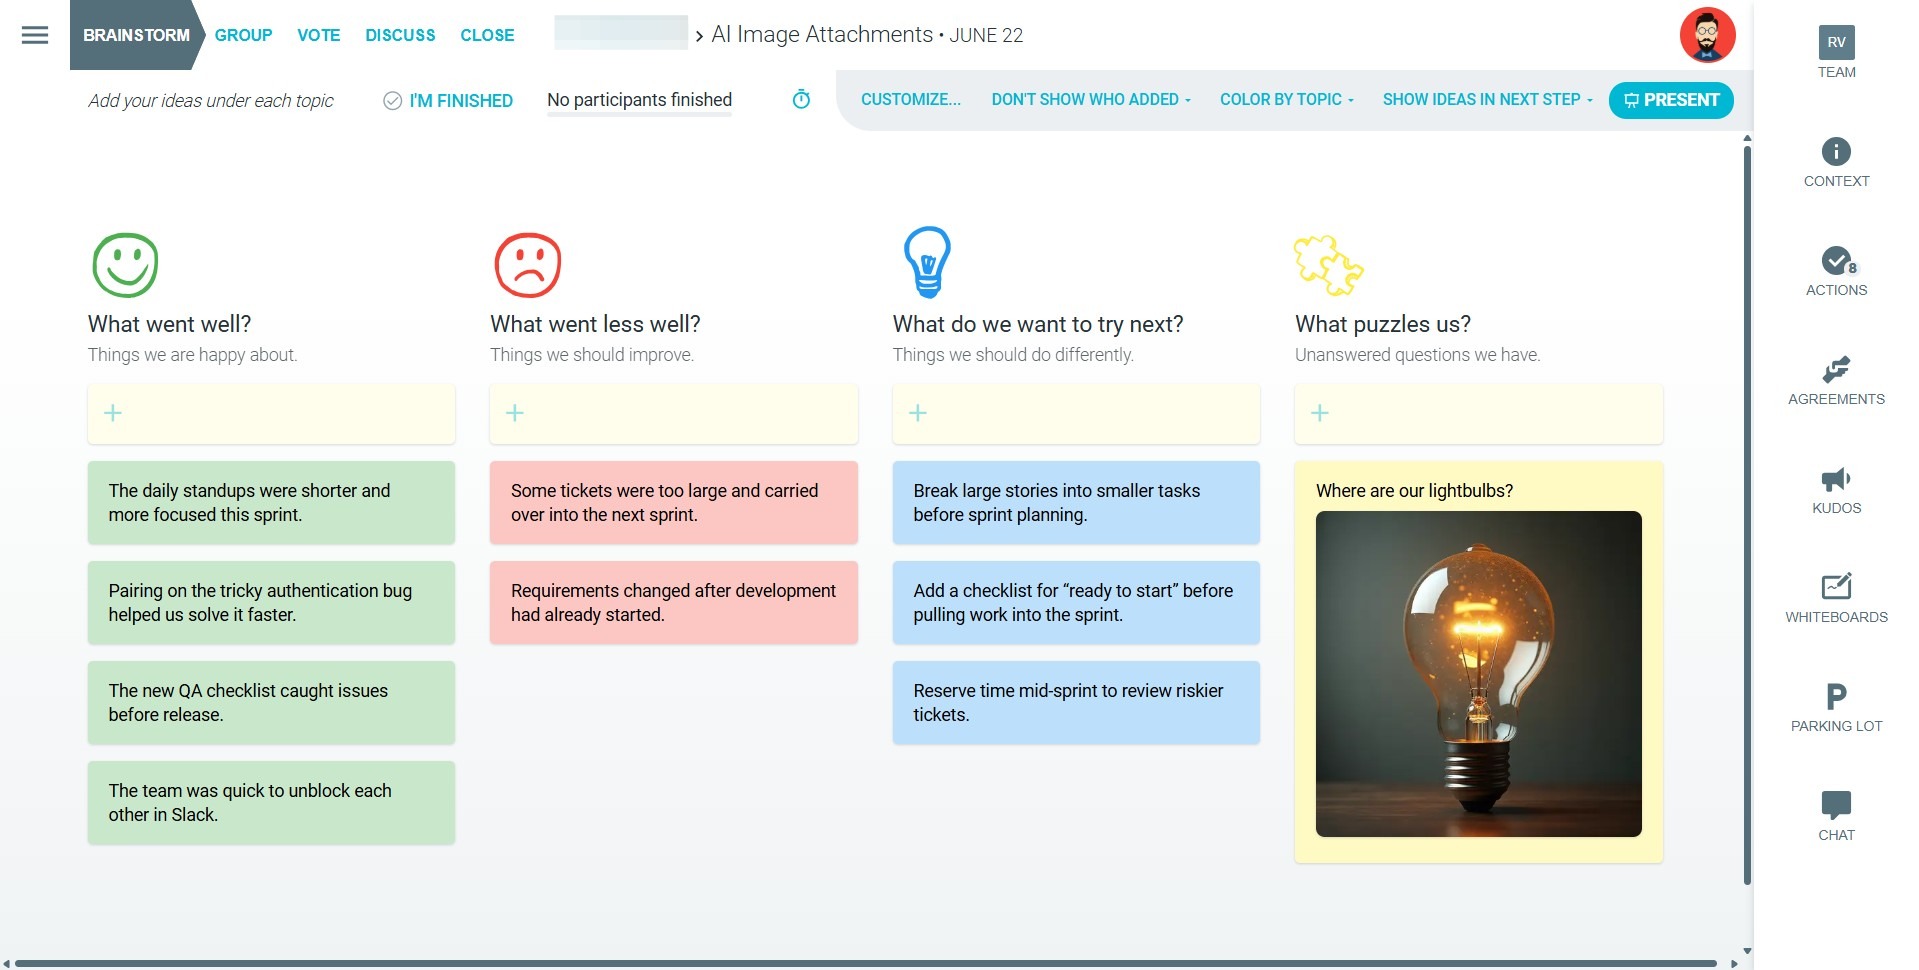
Enabling and adding Image attachments
TeamRetro supports adding image attachments to ideas and comments, helping your team share visual context alongside written feedback.
Image attachments are useful when something is easier to show than explain, such as:
- Screenshots
- Diagrams
- Charts
- Mockups
- Process flows
- Examples or references
You can upload common image formats directly into TeamRetro, or paste images straight from your clipboard into the text field. Once added, click any image to expand it and view it in full-size.
Enabling image attachments
- From the account level, navigate to SETTINGS —> AI AND FEATURES tab.

- Scroll down to the Idea and comment attachments section. Enable the IMAGES option.

How to add an image to an idea
- Within your meeting, under the topic column you wish to add the image to, click on the OPTIONS icon.
- Under the IMAGE tab, click the UPLOAD ICON to upload an image file from your device.

- Add a note to your idea. When ready, click SAVE CHANGES (Blue check mark).

- Your image will appear with the idea.

How to add an image to a comment
- Click on a specific idea or enter PRESENT mode.

- In the comment text field, click on the OPTIONS icon.

- Under the IMAGE tab, click the UPLOAD ICON to upload an image file from your device.

- Add a note to your comment. When ready, click SAVE CHANGES (Blue check mark).

- Your image will appear with the comment.

How to add an Image to a chat message
- Open the CHAT tab from the right-hand side panel within your meeting.

- Decide whether FACILITATORS CAN POST MESSAGES or EVERYONE CAN POST MESSAGES. Otherwise, keep it DISABLED should you not want any images or messages in the chat.

- Under the IMAGE tab, click the UPLOAD ICON to upload an image file from your device.

- Add a note to your chat message. When ready, click SAVE CHANGES (Blue check mark).

- Your image will appear in the chat.

How to add an AI image to an idea
You can also create AI-generated images within TeamRetro to help bring ideas to life or quickly create a visual prompt for your team. They’re useful when you want to represent a concept, mood, scenario, or theme without needing an existing image file.
1. Within your meeting, under the topic column you wish to add the image to, click on the OPTIONS icon.
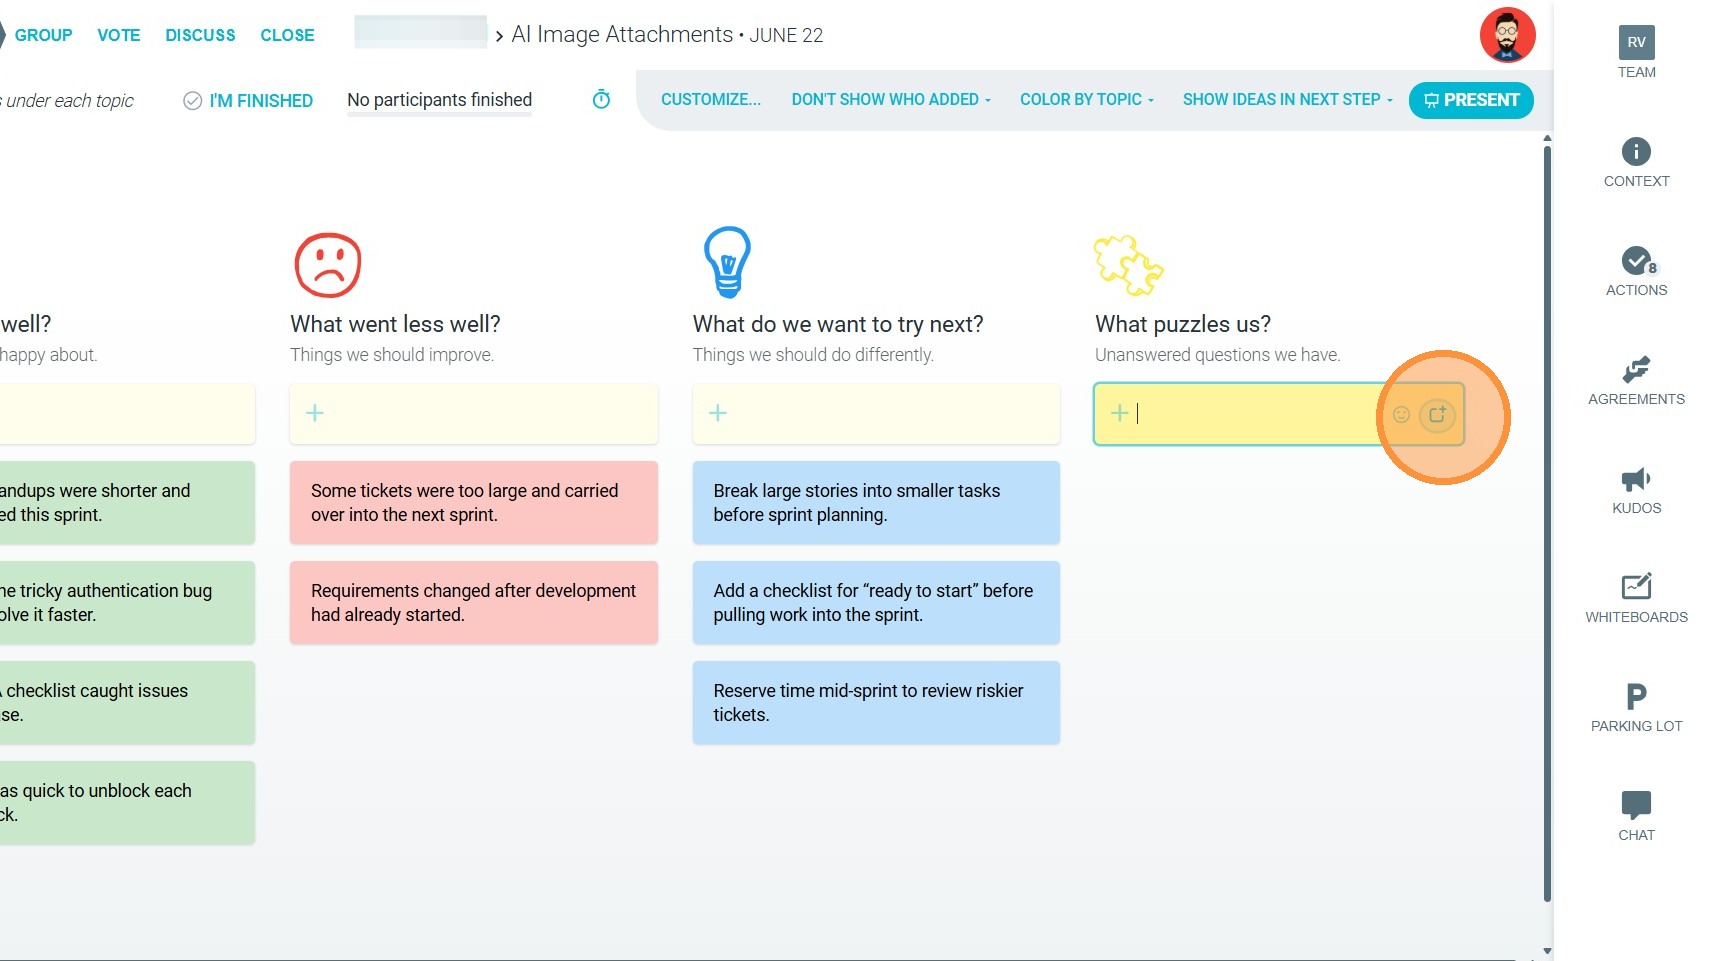
2. Under IMAGE, click the MAGIC WAND icon to open the AI image generator.
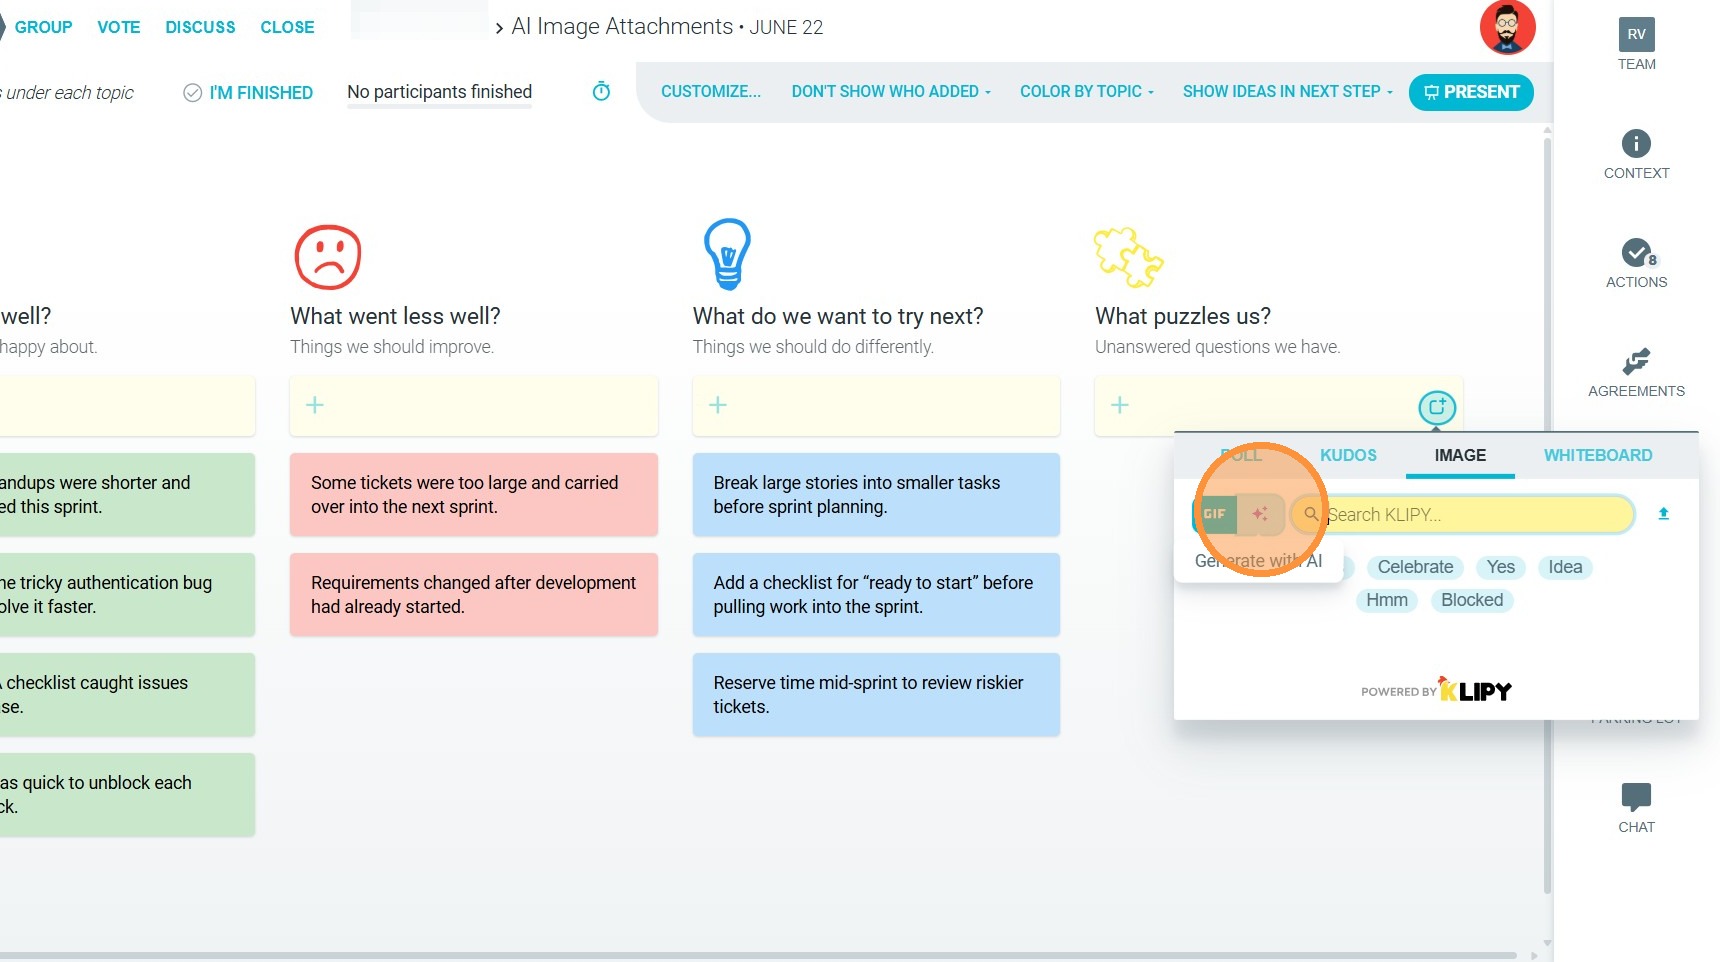
3. Enter your image prompt.
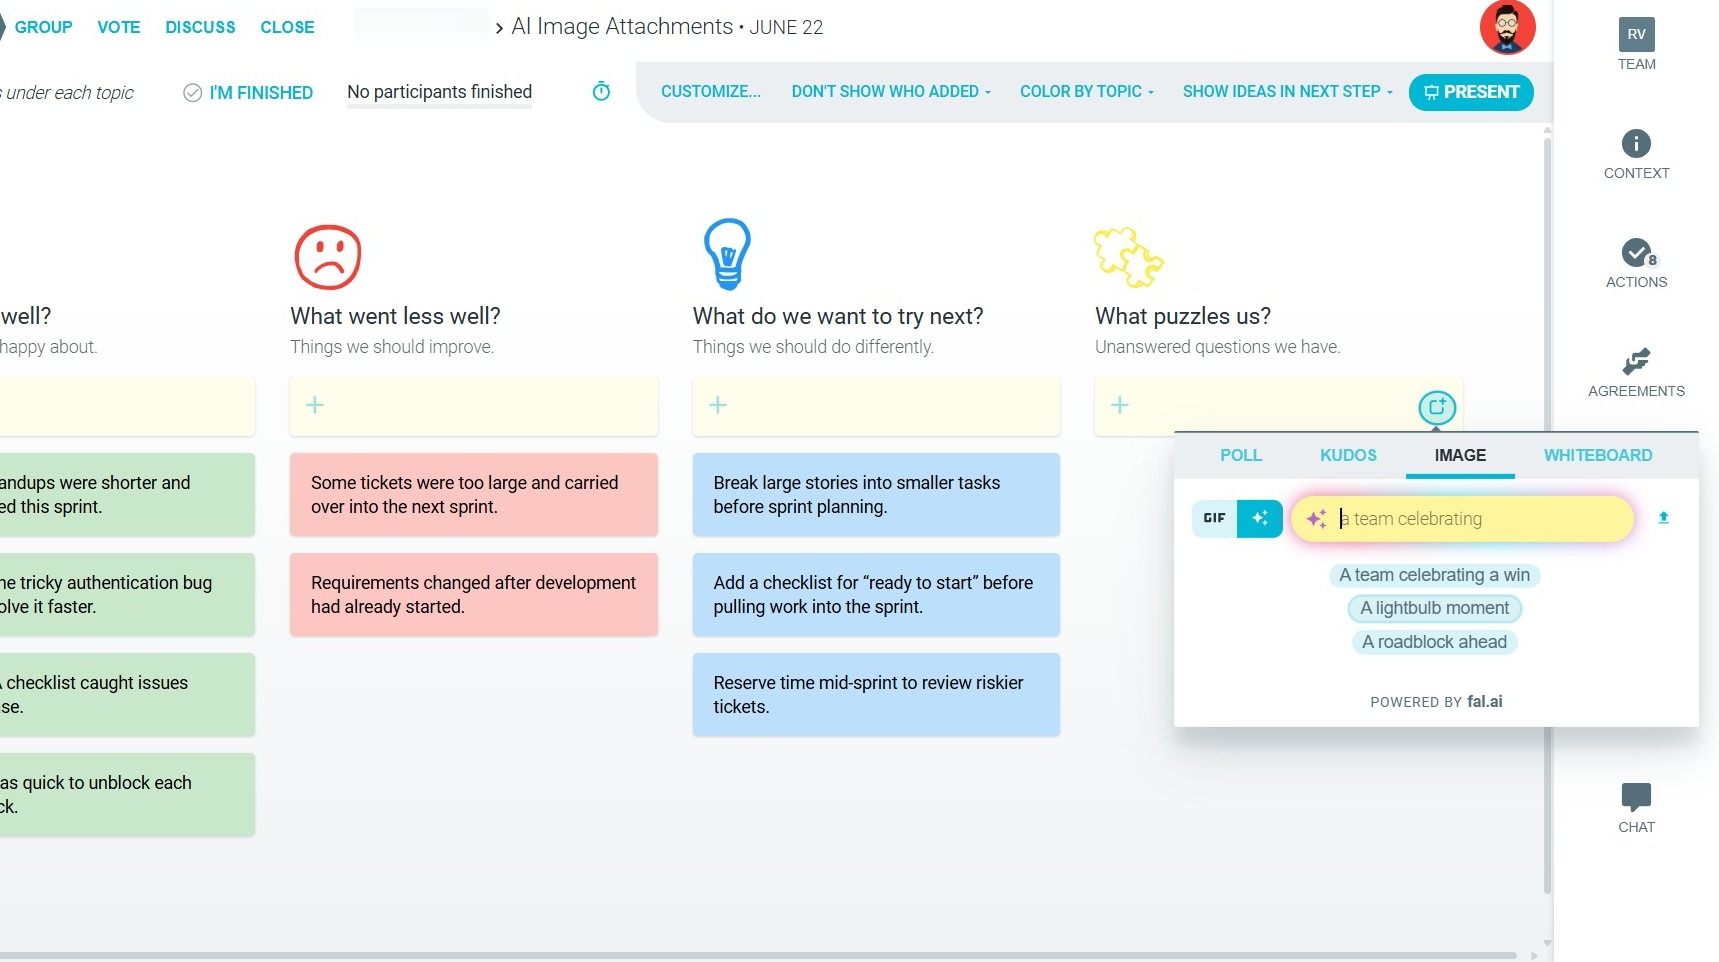
4. When ready, click the PURPLE ARROW to generate an image based on the prompt.
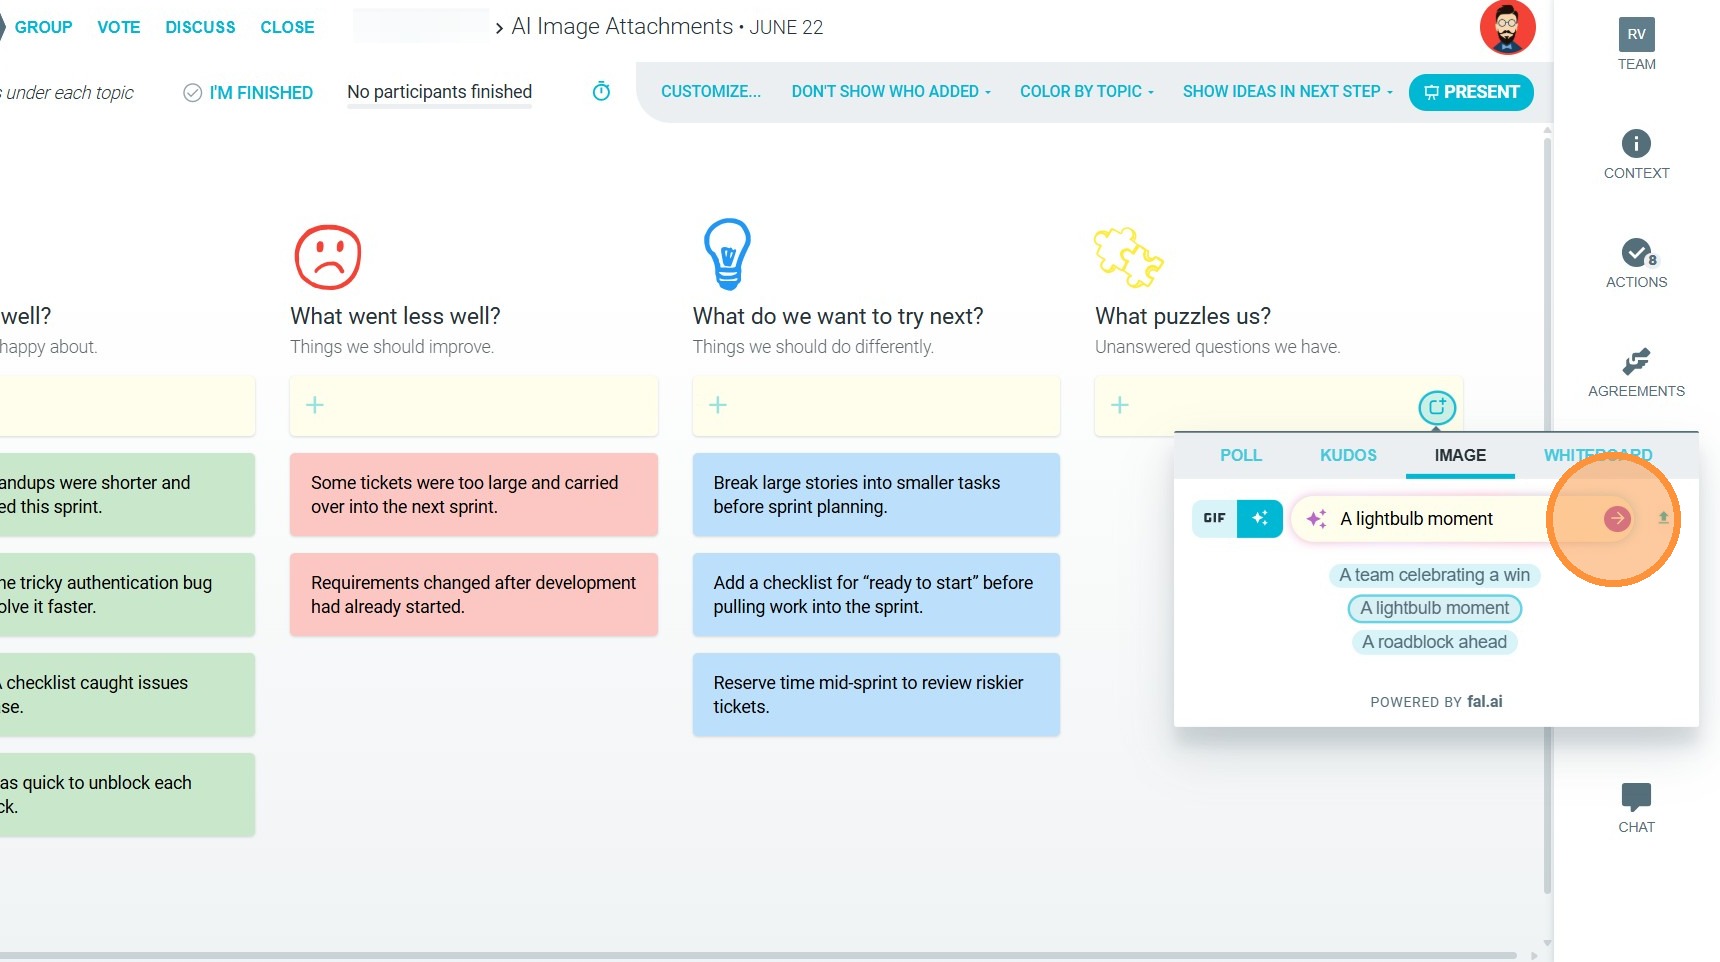
5. The image will be generated. If you are satisfied, click on the image.
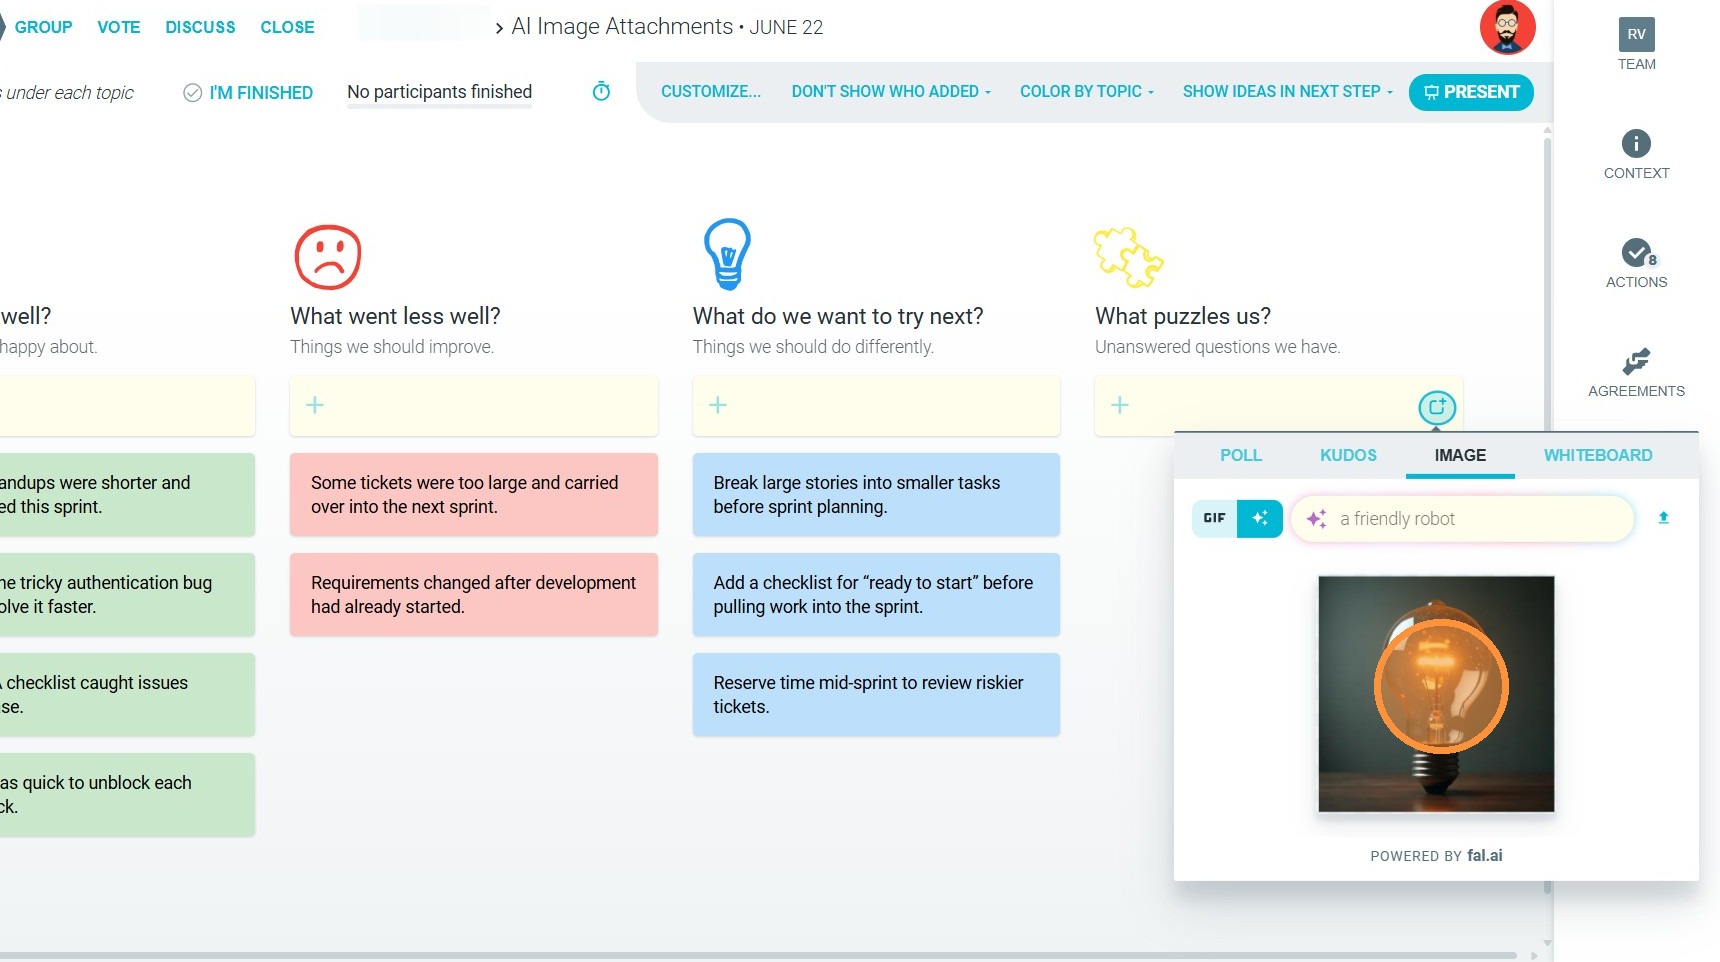
6. Add a note to your idea. When ready, click SAVE CHANGES (Blue check mark).
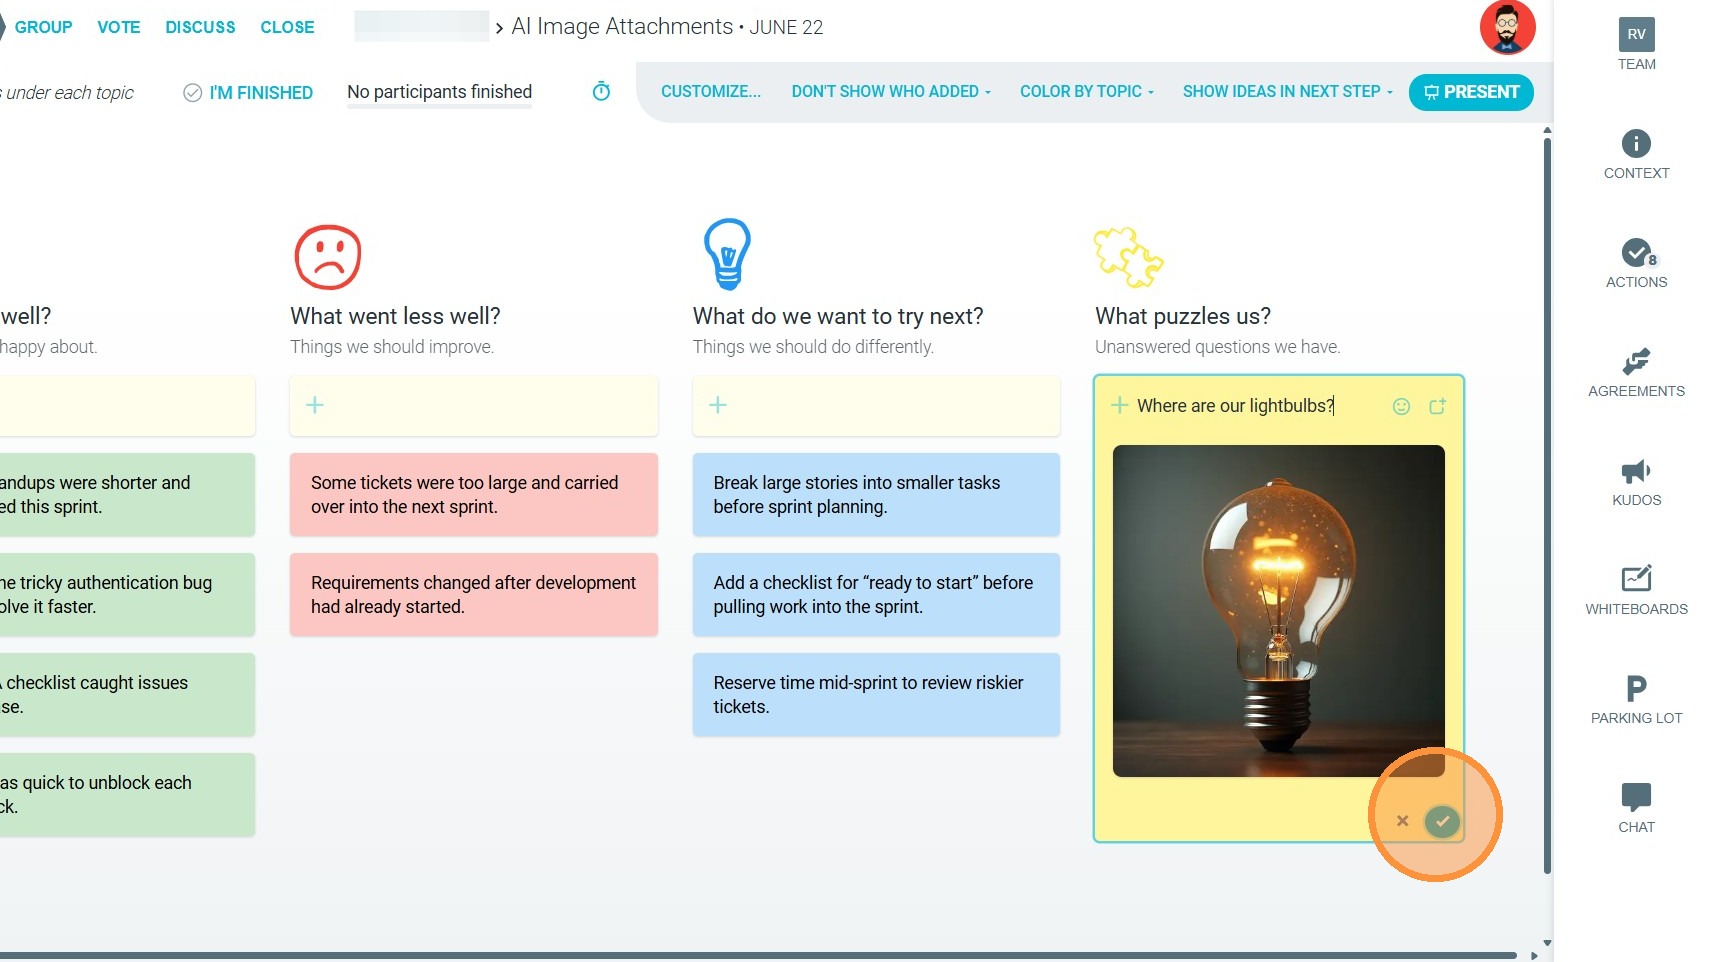
7. Your image will be appear with the idea.