Configuring SSO with AuthO
Single sign on (SSO) with AuthO will allow users in your organization to sign in to TeamRetro using their existing AuthO account - no need to create a separate TeamRetro account.
You must be an Account OWNER in your TeamRetro instance to make changes.
Setup Instructions
Open Single Sign on Settings in TeamRetro
-
Log in and select the SETTINGS —> SSO & PROVISIONING tab.
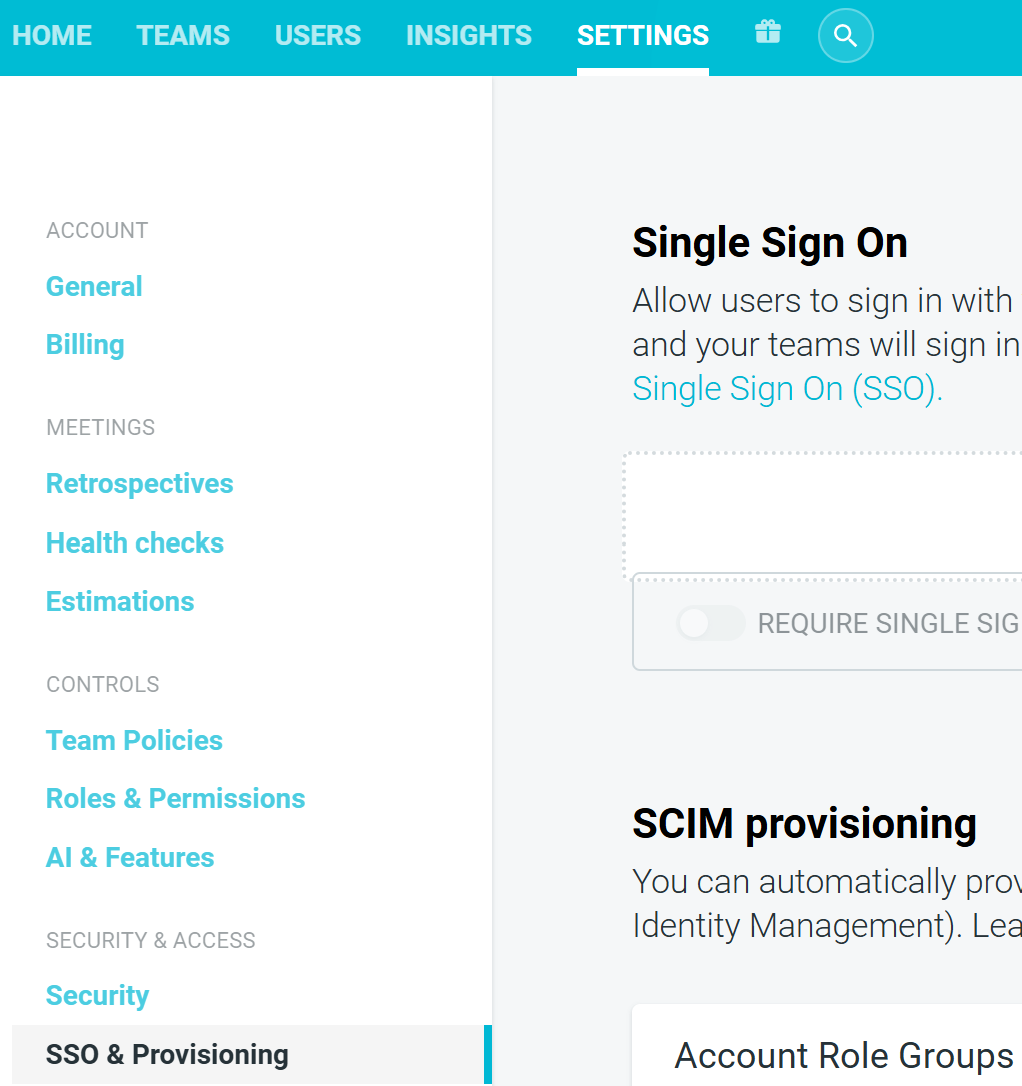

- Select ADD IDENTITY PROVIDER.

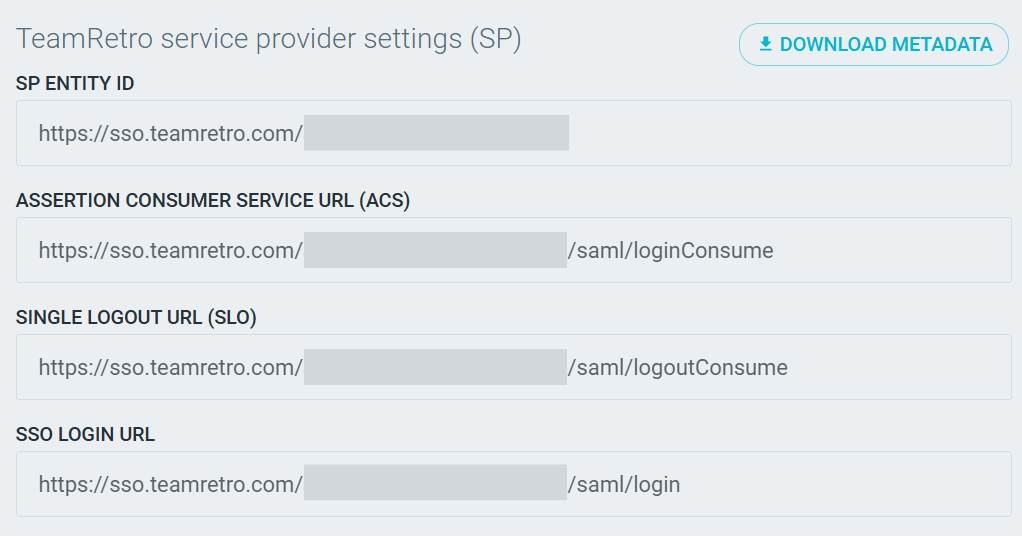
You will be presented with your TeamRetro service provider (SP) settings (you should see URL slugs where the boxes are).
Leave this window open for the moment - we'll need this information to complete the configuration of the TeamRetro app in AuthO.
Configure Single Sign-On in AuthO
-
Go to Dashboard > Applications > Applications and either create a new application or click the name of an application to configure.


-
Give your application a name (e.g. TeamRetro) and select "Regular Web Applications". Then click Create.

-
Click on the Addons tab and enable SAML2 WEB APP.

-
Go to the Usage tab and download the Identity Provider Metadata. Save this file locally as you will need it later.

-
On the Settings tab, copy and paste the LOGIN URL from TeamRetro into the Application Callback URL field.

-
Scroll to the bottom and click on Enable.

-
Back in TeamRetro, upload the metadata that you have downloaded previously and provide a name (e.g. AuthO).

Toggle on the ENABLED option and click on SAVE CHANGES.


Test the Configuration
If the test was successful, you should be redirected back into TeamRetro.

App Tile / Launcher URL
If you want users to access TeamRetro from an app tile or launcher in your identity provider, set the tile URL to the SSO Login Url shown in your TeamRetro SP settings:
https://sso.teamretro.com/{your-slug}/saml/login
You can find your slug in the SP Entity ID shown in the TeamRetro SSO settings (the part after sso.teamretro.com/ ).
Important: Do not use the Assertion Consumer Service Url (ACS) shown in TeamRetro's SP settings (/saml/loginConsume ) as a tile or bookmark. That URL only accepts POST requests from your IdP and will show "Page Not Found" if opened in a browser.