Configuring SSO with a Generic SAML 2.0 Identity Provider
If your identity provider is not listed in our provider-specific guides (Okta, Entra ID, Google Workspace, OneLogin, Auth0), you can still configure SAML SSO using these generic instructions. TeamRetro supports any SAML 2.0 compliant identity provider.
Requirements:
- You must be an Account Owner in TeamRetro
- You must have Administrator access to your identity provider
Step 1: Get TeamRetro's Service Provider details
-
Log in and select the SETTINGS —> SSO & PROVISIONING tab.
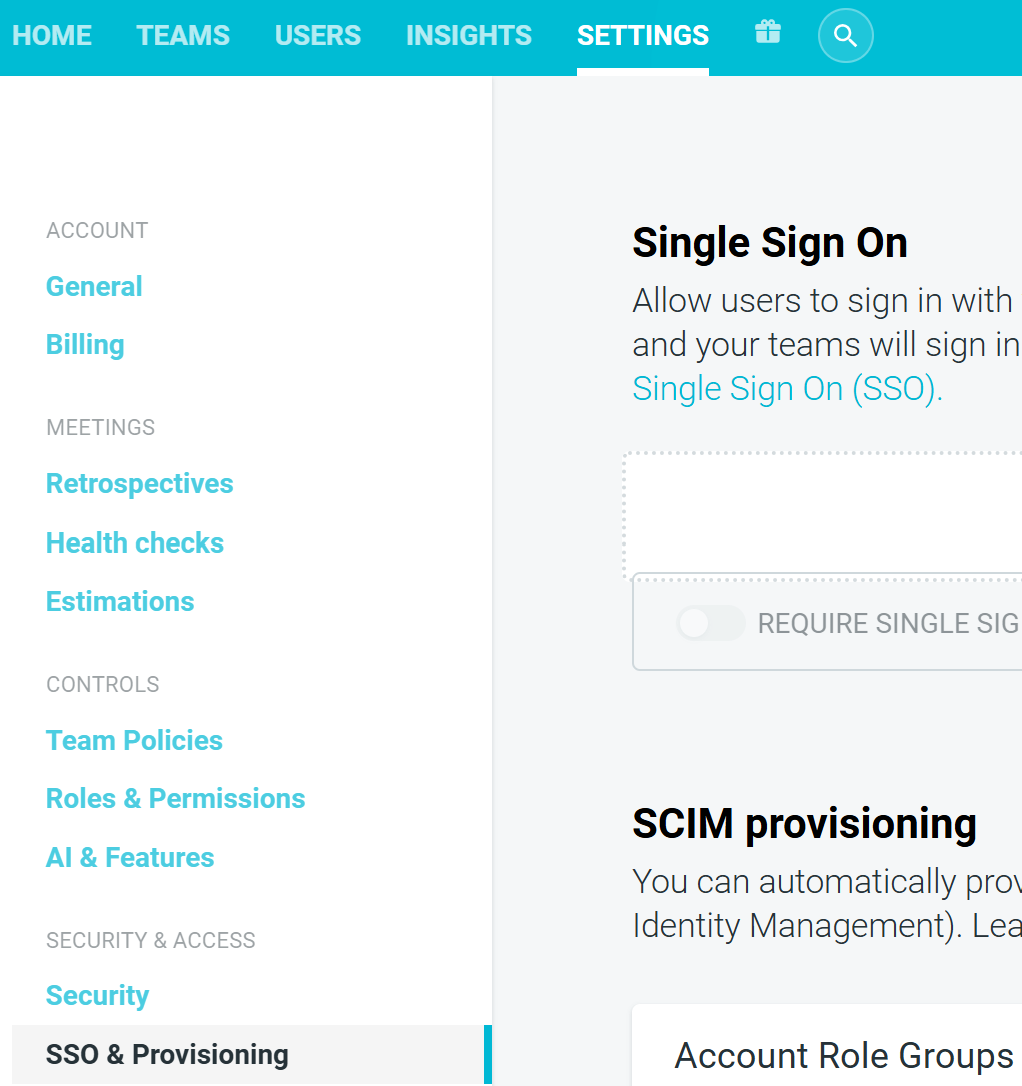
-
Click ADD IDENTITY PROVIDER

- Note the Service Provider (SP) settings displayed at the top:


- SP Entity ID — enter this as the "Entity ID", "Audience URI", or "Identifier" in your IdP
- Assertion Consumer Service URL (ACS) — enter this as the "ACS URL", "Reply URL", "Assertion Consumer Service URL", or "Single sign-on URL" in your IdP. This must be configured as a HTTP-POST binding.
- Single Logout URL (SLO) — (optional) enter this as the "SLO URL" or "Single Logout URL" in your IdP.
- SSO Login URL — this is the URL your users should visit to log in via SSO. Use this for app tiles, bookmarks, or launcher links.

Step 2: Configure your Identity Provider
In your IdP, create a new SAML 2.0 application and configure:
- Entity ID / Audience URI: Use the SP Entity ID from Step 1
- ACS URL / Reply URL: Use the Assertion Consumer Service URL (ACS) from Step 1 (must use HTTP-POST binding)
- Name ID Format:
EmailAddress - Name ID Value: The user's email address
Required SAML Attributes
| Attribute | Usage |
|---|---|
nameID |
User's email address |
Email |
User's email address |
DisplayName OR (FirstName + LastName ) |
User's full name or first/last name |
See TeamRetro supported SAML attributes for the full list including optional attributes.
Signing
- Use SHA-256 for signature algorithm
- Download your IdP's signing certificate or metadata XML for the next step
Step 3: Upload IdP details to TeamRetro
- If your IdP provides a metadata XML file, click Upload Metadata to auto-populate the fields
- Otherwise, manually enter:
- Friendly name: A name for your IdP (e.g., "Company SSO")
- IdP Entity ID: Your IdP's entity ID / issuer URL
- Single Sign-On URL (SSO): Your IdP's single sign-on URL (where TeamRetro sends authentication requests)
- Single Logout URL (SLO): Your IdP's single logout URL (optional)
- Signing certificate: Your IdP's X.509 signing certificate (PEM format, include the BEGIN/END lines)
Step 4: Enable and test
- Toggle Enabled on
- Click Save Changes
- Click Test — you should be redirected to your IdP to sign in, then returned to TeamRetro
Setting up an App Tile / Launcher
If your IdP has an app tile, portal, or launcher feature, set the tile URL to the SSO Login URL shown in your TeamRetro SP settings:
https://sso.teamretro.com/{your-slug}/saml/login
You can find your slug in the SP Entity ID shown in the TeamRetro SSO settings (the part after sso.teamretro.com/ ).
Important:
Do not use the Assertion Consumer Service URL (ACS) (/saml/loginConsume ) as a tile or bookmark link. That URL only accepts POST requests from your IdP and will show a "Page Not Found" error if opened directly in a browser.
Troubleshooting
- "Page Not Found" when clicking app tile: Your tile is pointing to the Assertion Consumer Service URL (ACS) instead of the SSO Login URL. Change it to the
/saml/loginURL shown in your SP settings. - Redirects to IdP but fails to return: Check that the ACS URL in your IdP matches the Assertion Consumer Service URL (ACS) shown in TeamRetro's SP settings exactly.
- Certificate errors: Ensure you've copied the full certificate including
-----BEGIN CERTIFICATE-----and-----END CERTIFICATE-----lines. - User attributes not mapping: Review the supported SAML attributes and ensure your IdP is sending at minimum
nameID,Email, and eitherDisplayNameorFirstName/LastName.
If you run into any problems or concerns during the setup process, please do not hesitate to reach out to info@teamretro.com for assistance with configuration.