
TeamRetro ✖️ Zapier
How to set up the Zapier integration
To configure this integration you must be a TeamRetro Team Administrator.
Zapier connects TeamRetro to over 7,000 apps — no code required. Use it to hook your retrospectives, health checks and estimation sessions into the tools your team already uses, from Gmail and Google Sheets to Zendesk and beyond.
A Zapier automation is called a Zap. Every Zap starts with a trigger (something happening in one app) followed by one or more actions (things done in other apps). TeamRetro provides both:
- Triggers — start a Zap the moment a retrospective completes, a health check finishes, an action item is created or completed, kudos is given, a team member is invited and more. Triggers are real-time (no waiting for polling).
- Actions and searches — create action items and parked items, look up teams, retrospectives, health checks and more mid-Zap.
Looking for ideas? See our ready-made Zap templates on the TeamRetro Zapier page.
Video walkthroughs
Prefer to watch? These walkthroughs cover setup and two of the most common Zaps.
How to connect Zapier to TeamRetro
Watch: How to connect Zapier to TeamRetro
Send Slack channel messages for newly completed retrospectives
Watch: Send Slack channel messages for newly completed retrospectives
Post Slack channel messages for new action items
Watch: Post Slack channel messages for new action items
Before you start
You will need:
- A TeamRetro account with API access enabled (Enterprise plan)
- A Zapier account (free plan works for single-step Zaps)
- A TeamRetro API key (steps below)
How to create your API key
- In TeamRetro, go to SETTINGS —> API & SCIM
- Select CREATE API KEY
- Choose the scope to be covered by the API key. A team-scoped key (
trt_) can only see one team — this is the safest choice for most Zaps. An account-scoped key (tra_) can see every team. - Copy the key somewhere safe. For security reasons, TeamRetro will only show it to you once.

How to connect TeamRetro to Zapier
- In Zapier, create a new Zap and search for TeamRetro as the trigger or action app
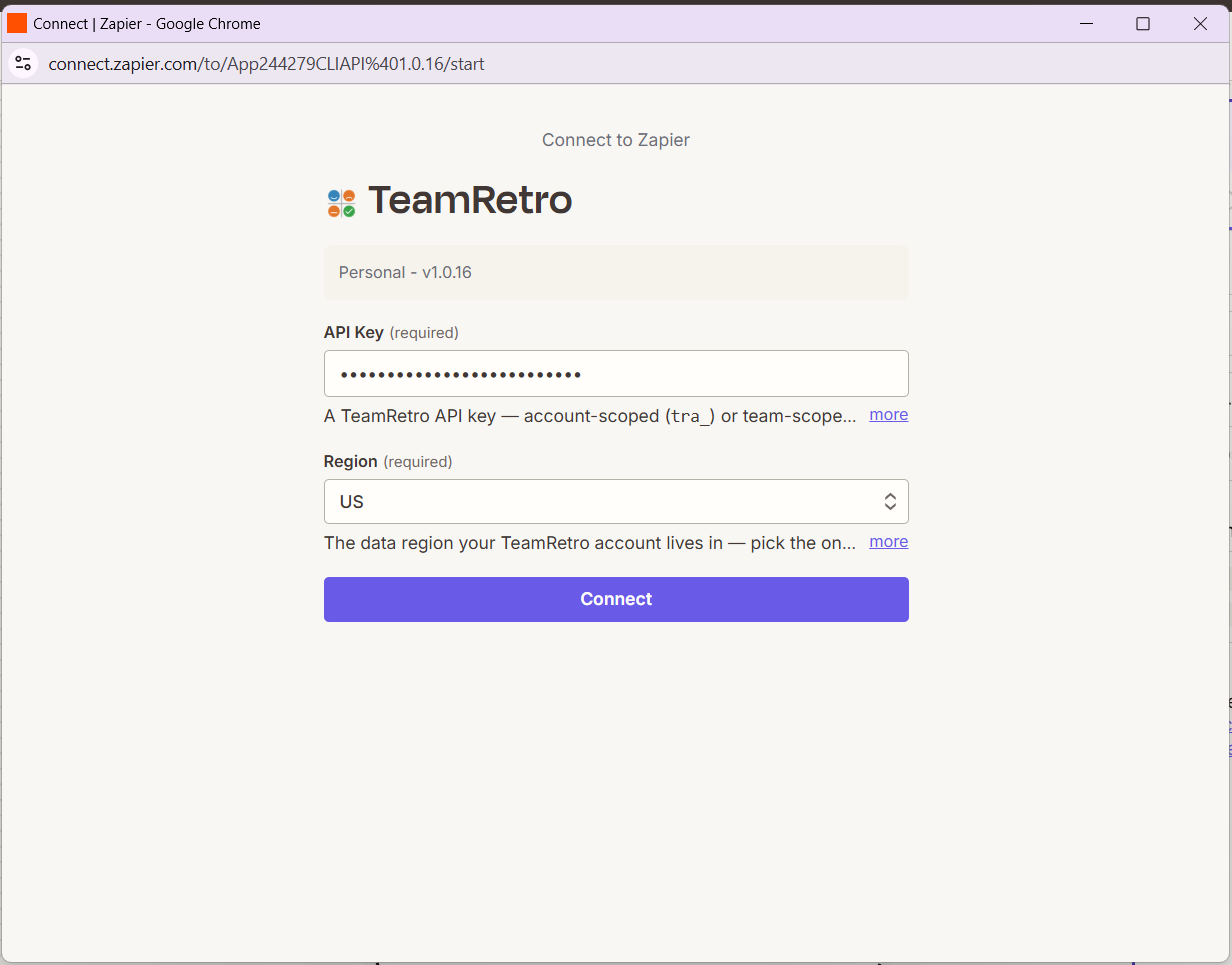
- When prompted, select Connect a new account
- Paste in your API key
- Choose your Region — select EU if your TeamRetro account is hosted in the European Union, otherwise select US
- Select Yes, Continue. Zapier will test the connection.
How to build your first Zap
Let's send an email summary whenever a retrospective completes:
- Create a new Zap
- For the trigger, choose TeamRetro —> Retrospective Completed
- Select your TeamRetro account and select Test trigger. Zapier will show a sample retrospective. (Tip: complete a retrospective in TeamRetro first so there's real data to test with.)
- For the action, choose Gmail —> Send Email
- Use the fields from the trigger — the retrospective's title, team and date — to fill in the subject and body
- Test the action, then Publish your Zap
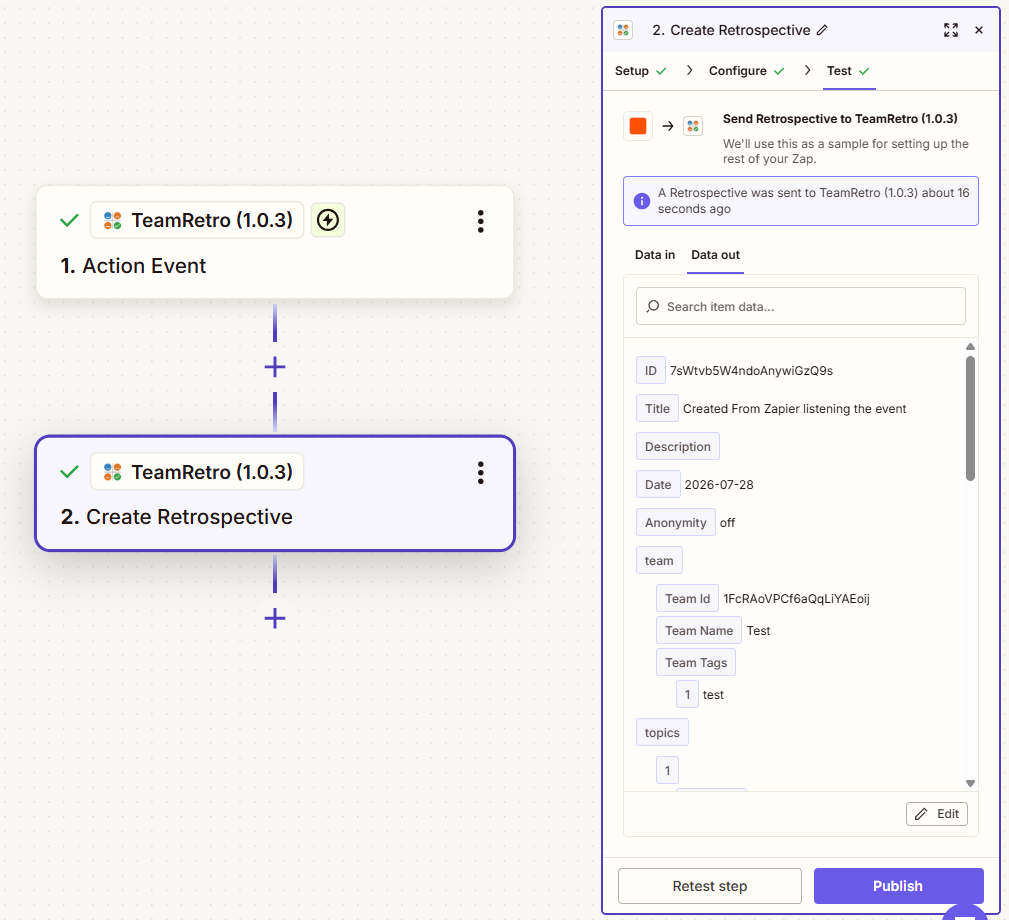
That's it — from now on, every completed retrospective sends the email automatically.
What triggers are available?
| Category | Triggers |
|---|---|
| Meetings | Retrospective created / completed, Health check created / completed, Estimation created / completed |
| Actions | Created, updated, completed, assignee changed |
| People | Kudos created, team member invited |
Tip: you can also add TeamRetro search steps to a Zap — for example, look up a team or find a retrospective — and use the results in later steps.
Troubleshooting
- "We couldn't connect your account" — check the API key was copied in full, and that the region matches where your TeamRetro account is hosted (EU accounts use eu.teamretro.com).
- The trigger test finds no data — perform the event once in TeamRetro (e.g. complete a retrospective) and test again.
- 403 errors on an action — your API key's scope may not cover it. Team-scoped keys can't access account-level data.