SCIM Provisioning with Entra ID (formerly Azure AD)
Prerequisites
To set up SCIM provisioning with Entra ID (formerly Azure AD), you'll need:
- A TeamRetro ENTERPRISE subscription
- The Account Owner role in TeamRetro (to create an SCIM-scope API key)
- An Administrator role in Entra ID (to configure SCIM)
-
Entra ID SSO set up on your TeamRetro application
Configuring SCIM
Set up Entra ID Single Sign On (SSO) with TeamRetro - See our Entra ID SSO configuration guide.
-
Get your TeamRetro SCIM API key
-
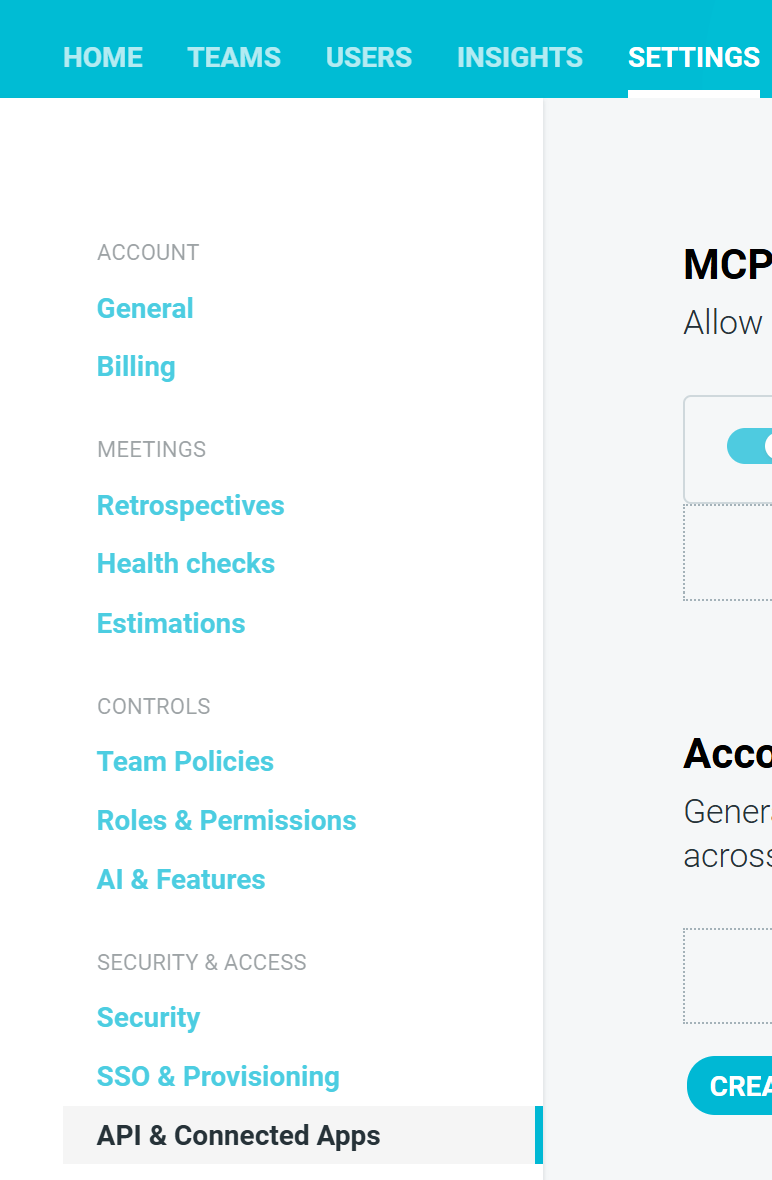
In TeamRetro, browse to SETTINGS > API & CONNECTED APPS.
-
-
Click CREATE ACCOUNT API KEY.
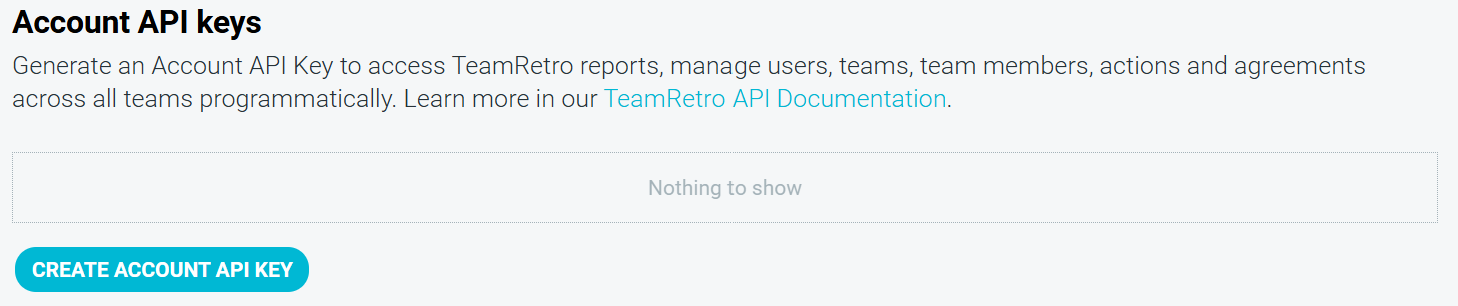
- ENABLE SCIM (you may wish to disable Read and Write API access also).


- Click CREATE.
- Copy the unique SCIM API key to use later in Entra ID.
- Click SAVE CHANGES.

Configure SCIM Provisioning in Entra ID
Once you have completed the SSO set up, you will be able to access the application's settings:

-
Click on Provisioning from the side panel. Click on Provisioning once more.

-
Change the Provisioning Mode to Automatic.


Configure Admin Credentials
Complete the Admin Credentials form.
- Authentication Method:
-
Bearer Authentication

-
-
Tenant URL:
For US Hosting: https://scim.teamretro.com/?aadOptscim062020
For EU Hosting: https://scim.eu.teamretro.com/?aadOptscim062020
Note: the ?aadOptscim062020 flag notifies Entra ID to use the standards compliant SCIM behavior. This feature flag currently does not work with on-demand provisioning. More information.
- Secret Token: <your TeamRetro SCIM API Key>
-

-
Click on Test Connection and if the connection succeeds, you will see a message/notification as follows:

- Then click on Save to save the current changes you have made.
-


Configure Mappings
-
Click Mappings. Both Provision Microsoft Entra ID Groups and Provision Microsoft Entra ID Users should be enabled.


- Click on Provision Microsoft Entra ID Groups:
- Ensure that Create, Update, and Delete are checked.
- Save any changes.

- Click on Provision Microsoft Entra ID Users:
- Ensure that Create, Update, and Delete are checked.
- Save.

Configure Additional Settings
Under Settings, set the scope of your application to Sync only assigned users and groups to avoid synchronizing unwanted users and groups. Then, set the Provisioning Status to On and Save the current changes.

How to Provision a Team via Entra ID
Ensure that you have assigned the desired users and groups to TeamRetro in order to sync them via the Users and Groups menu.
