SCIM provisioning with OneLogin
Prerequisites
To set up SCIM provisioning with OneLogin, you'll need:
- A TeamRetro ENTERPRISE subscription
- The Account Owner role in TeamRetro (to create an SCIM-scope API key)
- An Administrator role in OneLogin (to configure SCIM)
Important Note:
Updating team names via SCIM is not supported by OneLogin. If a team name is updated in OneLogin, a new separate team will be created in TeamRetro when a user is assigned.
Configuring SSO and SCIM
-
Get your TeamRetro SAML Service Provider Data.
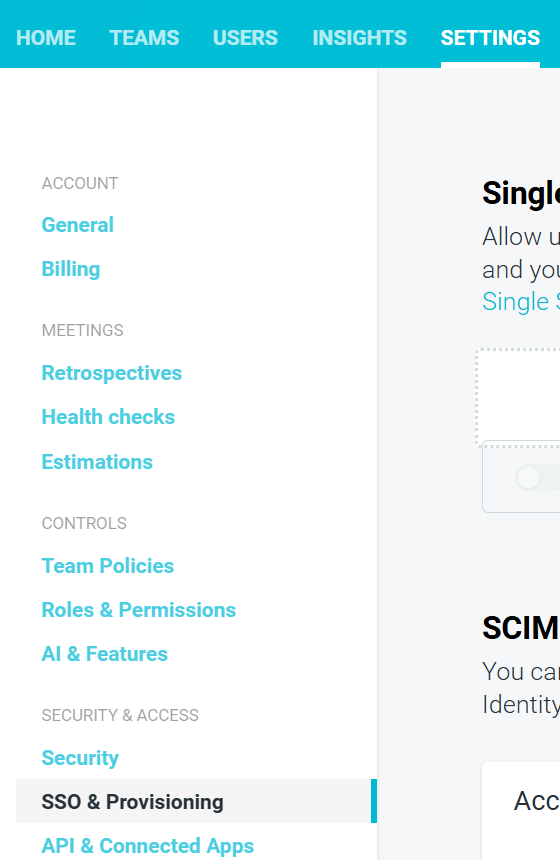
In TeamRetro, browse to SETTINGS > SSO & PROVISIONING.
-
Click ADD IDENTITY PROVIDER.

- Update the Friendly Name to "OneLogin" or similar.
- Make a note of the SP ENTITY ID, you'll need this later (e.g. https://sso.teamretro.com/xxxxx).
-
Make a note of the LOGIN URL, you'll need this later (e.g. https://sso.teamretro.com/xxxxx/saml/loginConsume)
Note - you can leave the other fields blank at this point.
- Click SAVE CHANGES.
-


-
Get your TeamRetro SCIM API key
-
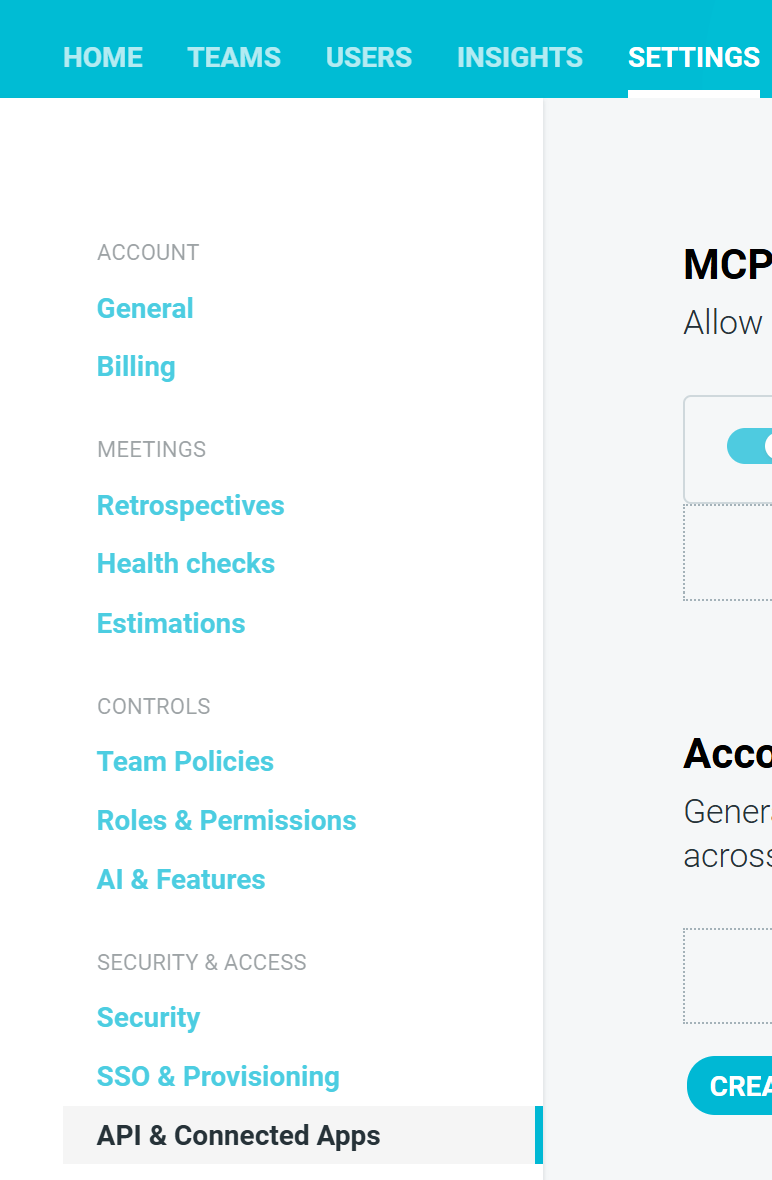
In TeamRetro, browse to SETTINGS > API & CONNECTED APPS.
Click CREATE ACCOUNT API KEY.
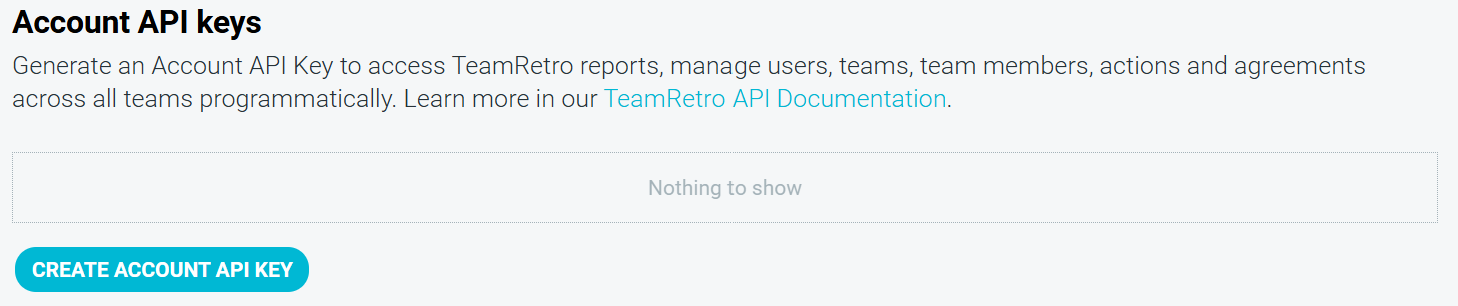


- ENABLE SCIM (you may wish to disable Read and Write API access also).

- Click CREATE.
- Copy the unique SCIM API key to use later in OneLogin.
- Click SAVE CHANGES.

Set up TeamRetro Application in OneLogin
-
In OneLogin, go to your Administration page and click Applications > Applications:

-
Then click Add App on the top right, and search for 'SCIM'. Click on SCIM Provisioner with SAML (SCIM v2 Core):

-
Give the app a Display Name (e.g. TeamRetro) and click Save on the right-hand side of the page:


Configure Single Sign On with OneLogin
- Navigate to the Configuration tab.
- Enter the following values:
- SAML Audience URL: <SP ENTITY ID from TeamRetro you retrieved in Step 1>.
- SAML Consumer URL: <LOGIN URL from TeamRetro you retrieved in Step 1>.
- If you are hosted in the default US environment:
- SCIM Base URL: https://scim.teamretro.com
- If you are hosted in the EU environment:
- SCIM Base URL: https://scim.eu.teamretro.com
- SCIM Bearer Token: <API KEY from TeamRetro you retrieved in Step 2>.
- Click SAVE.

Configure SCIM Provisioning
- Navigate to the Provisioning tab.
-
Check Enable provisioning.
Note: If you want to require admin approval before a user is created, deleted, or updated, check the corresponding check boxes; otherwise, uncheck them.
- Click Save.

Configure SCIM Parameters
- Navigate to the Parameters tab.
- Update the parameters to match those listed below
- Click on a parameter to edit it.
- Click (+) to add a new parameter.
- Click Save.
| Field Name | Value | Flags |
| Groups | --No transform-- | Include in User provisioning |
| NameID | N/A | |
| SCIM Username | N/A | |
| Include in SAML assertion Include in User Provisioning | ||
| firstName | First Name | Include in SAML assertion Include in User Provisioning |
| lastName | Last Name | Include in SAML assertion Include in User Provisioning |
| avatarUrl | Profile Picture | Include in SAML assertion |

Configure SCIM Rules
- Navigate to the Rules tab.
- Click Add Rule.
- Enter "Add Roles as Teams in TeamRetro" in the Name field (or similar).
- Leave Conditions blank (unless you want to exclude certain users).
- Click the (+) icon under Actions to add a new rule.
- Select "Set Groups in TeamRetro" (or whatever name was given to the application).
- Leave Map from OneLogin checked.
- Select role under "For each".
- Enter '.*' under "with value that matches" (or enter a regular expression that matches the roles you wish to include).
- Click Save.

Download Your OneLogin SSO Identity Provider Metadata
- Navigate to the SSO tab
- Select SAML Signature Algorithm: SHA-256
- Click Save
- Click More Actions -> SAML Metadata. Save the resulting metadata XML to your desktop or similar

Update TeamRetro Identity Provider Settings
- Back to TeamRetro, navigate to Settings > Single Sign On.
- Click on the OneLogin identity provider created in Step 1.
- Click UPLOAD METADATA and select the XML file downloaded a moment ago from OneLoginTeamRetro should automatically populate the IDP ENTITY ID, LOGIN SSO URL, LOGOUT SLO URL and SIGNING CERTiFICATE FIELDS.
- Check ENABLED.
- Click SAVE.
- Test out your new integration!
How to Provision a Team via OneLogin
Important note:
If you assign a Role to TeamRetro app within OneLogin, and there is a TeamRetro team with the same name, then the OneLogin group will replace it. We recommend coordinating the team provisioning with the TeamRetro Organization Owner to avoid users losing access to their data or users gaining access unintentionally.
Create a new OneLogin Role
- In OneLogin, navigate to Users > Roles from the top menu.
- Click:
- This will become the team name in TeamRetro
- Role names cannot be changed in OneLogin once created
- The team will only be created in TeamRetro once users have been added
- Select the TeamRetro app by clicking it.
- Click Save.

Assign users to the OneLogin Role (TeamRetro Team)
- Navigate to the Users tab.
- Search for user(s) in the "Check existing or add new users to this role" section, pressing Check once you've selected the users.
- Click the Add To Role link on the user that was just checked:

- Click Save on the right-hand side of the page.